

.png)
.png)
What You’ll Learn
In this guide, we’ll show you how to:
- Set up the Player Zero SDK in Unity.
- Load and display a Player Zero avatar.
- Sync it with your game’s animations and components.
- Prepare your game build to get to the Player Zero platform.
Intro
Players often invest significant time and creativity into perfecting their characters, but most games keep that effort locked behind walled gardens, limiting its value to just one title. That’s why we created Player Zero: to build bridges between games and preserve the progress players work hard to build.
With the Player Zero SDK, it's easier than ever for developers to bring cross-game avatars into their games. In just a few weeks, we've launched more than 10 external games on the Player Zero platform, with many more in the pipeline. Whether your game is already live or has its own character system, you can integrate Player Zero avatars with minimal effort. The Unity SDK is designed to work seamlessly with your existing animations, components, and rig setups. API integration is also available for other engines like PlayCanvas. Additionally, Player Zero supports deep linking for both mobile and PC, allowing players to jump directly into your game with their avatar, no matter the platform.
🎥 Prefer to watch instead? This quick video (under 5 minutes) walks you through the steps to integrate the Player Zero SDK into your Unity game.
As a developer, integrating Player Zero means you gain access to:
- Revenue sharing based on player activity
- Cross-game avatar support
- Built-in analytics to track player sessions and engagement
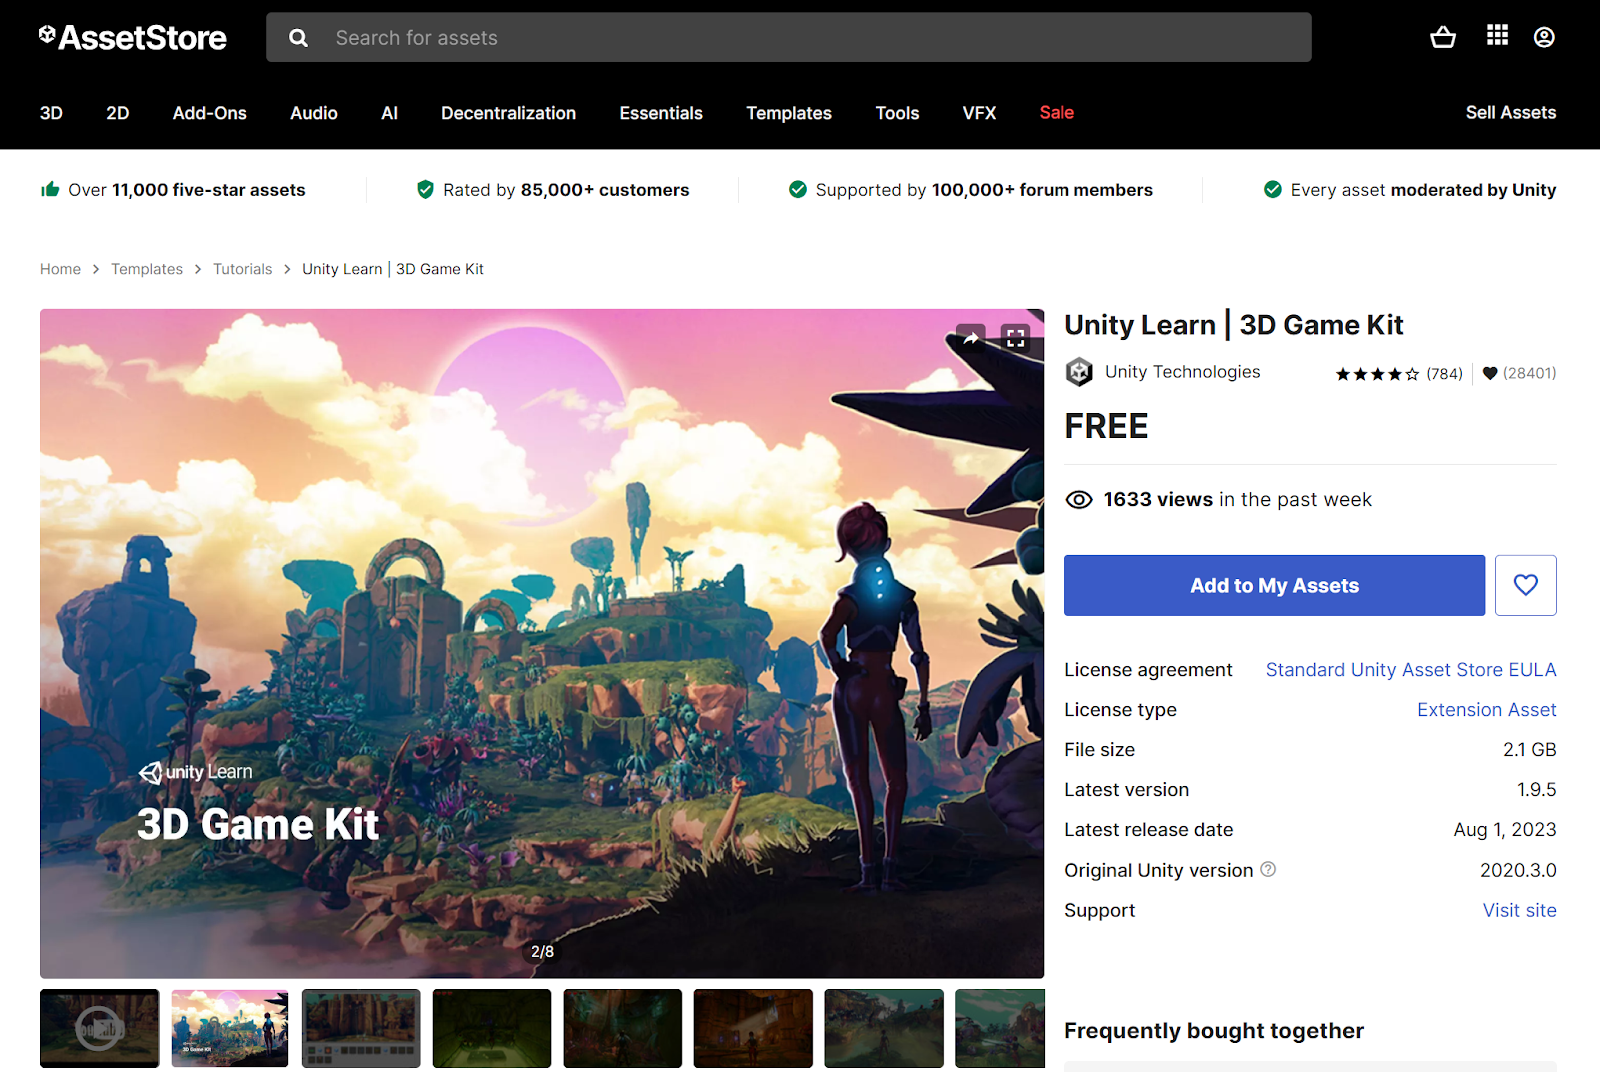
For this tutorial, we’ll use Unity’s 3D Game Kit as a base, similar to when you'd use your own existing Unity game.
Step 1: Get Developer Access
Before you begin, contact the Player Zero team to get your developer credentials. You can submit your game using this form. Your game must already be live to qualify for access.
Once you're set-up, you have two options for integrating avatars:
- Use default Player Zero avatars, which come with a standard skeleton.
- Or use your own custom character setup. In this case, you’ll need to send us one of your models so we can create a blueprint.
What is a blueprint?
If your game already has custom characters, we can adapt Player Zero avatars to match your technical requirements. That includes using your custom skeleton and matching the proportions of your existing characters.
To do this, you’ll send us your character model. We’ll register it in our system and create a blueprint, which allows Player Zero avatars to work seamlessly with your rig and animation setup.

Step 2: Install the SDK in Unity
- Go to the Player Zero GitHub Releases page
- Copy the latest SDK URL
- In Unity, open Window > Package Manager
- Click the + button, choose "Add package from Git URL," and paste the URL

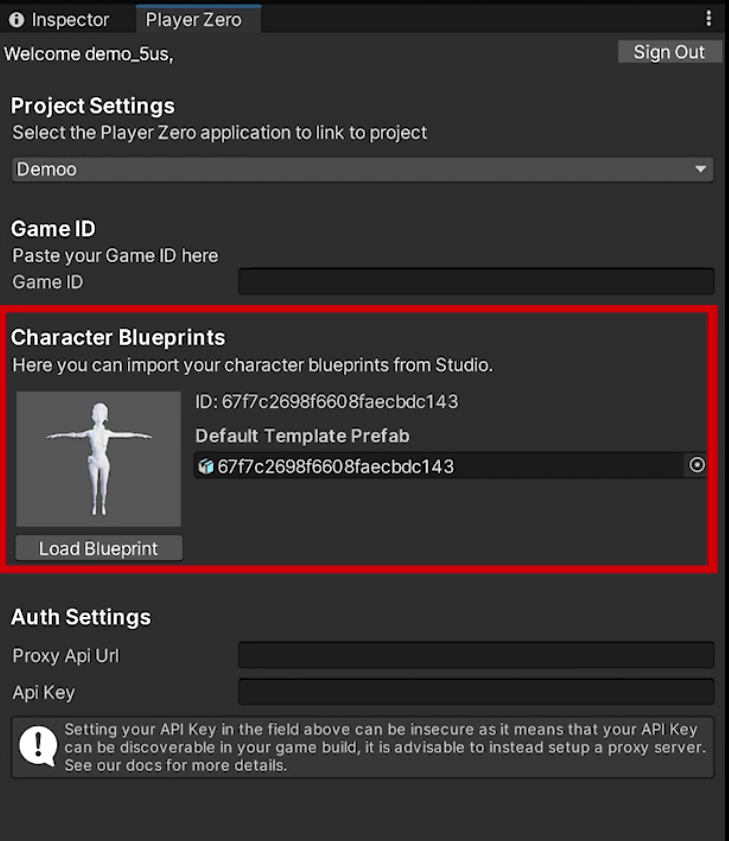
Step 3: Log In and Verify Blueprint
- In Unity, open Tools > Player Zero
- Log in with your credentials
- Check if your blueprint appears in the list
Step 4: Load an Avatar
- Select the GameObject of the existing character in your scene that you want to replace.
- Create a new script called CharacterLoader and attach it to the GameObject.
- Inside the script’s Start() method, create a new character loader instance using the code below.
- Replace the avatar ID with a Player Zero test ID (e.g., 6799e786ad3f17b0ac17f265 or 6799e89a4f6181e930480786). These are great for quickly testing avatar appearance and animation, helping verify your integration before loading real player avatars.
Step 5: Use a Custom Blueprint
If you've submitted your custom character and we've registered it, a blueprint ID will be available in your account.
Use this ID in your existing loader script by including it in the CharacterRequestConfig.
This ensures compatibility with your animations and rig.
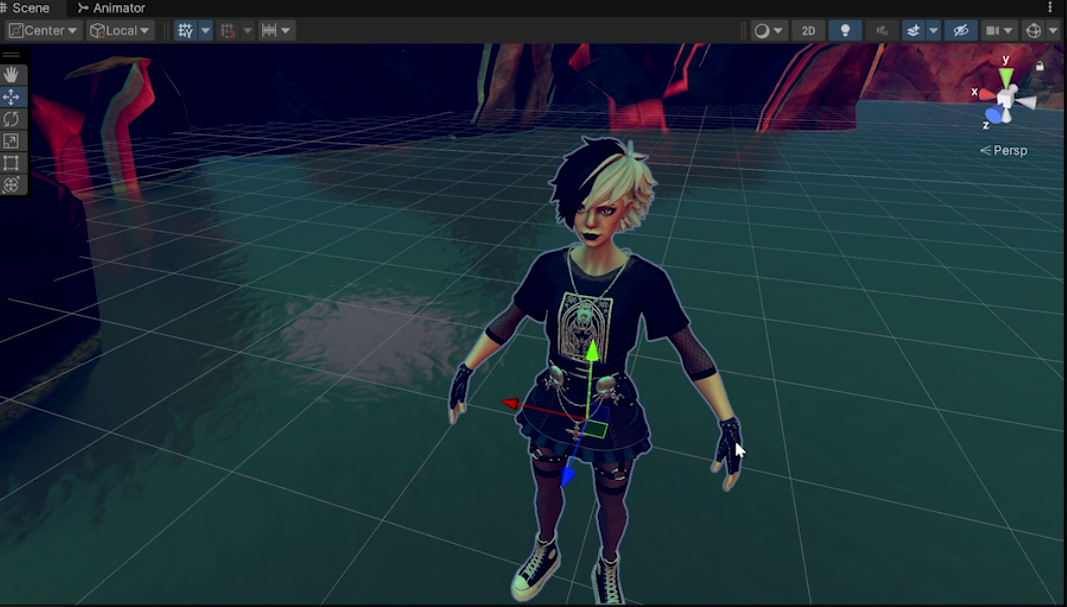
Now, if you press play, you should see the character loaded in the scene.
Step 6: Sync With Animations and Components
After the avatar loads, you may notice it doesn't use the original character’s position, animations, or attached components.
Instead of manually reassigning everything:
- Use the MeshTransfer().Transfer() method from the SDK.
- Pass the loaded avatar and the existing character GameObject.
This ensures the new mesh inherits all scripts, animation controllers, and structure.
Step 7 (Optional): Add a Loading Screen
For a smoother user experience during avatar loading:
- Create a UI loading screen in your scene and keep it inactive by default.
- Reference the loading screen in your script.
- Set it active before the avatar begins loading and disable it once loading is complete.
Step 8: Load Real Player Avatars
Up to this point, you've been using a static test avatar ID for development. When your game goes live, real players will load in with their own avatars from the Player Zero platform.
- Replace the static AvatarId with the GetHotLoadedAvatarId() method:
- This dynamically pulls the authenticated player's avatar when they launch your game.
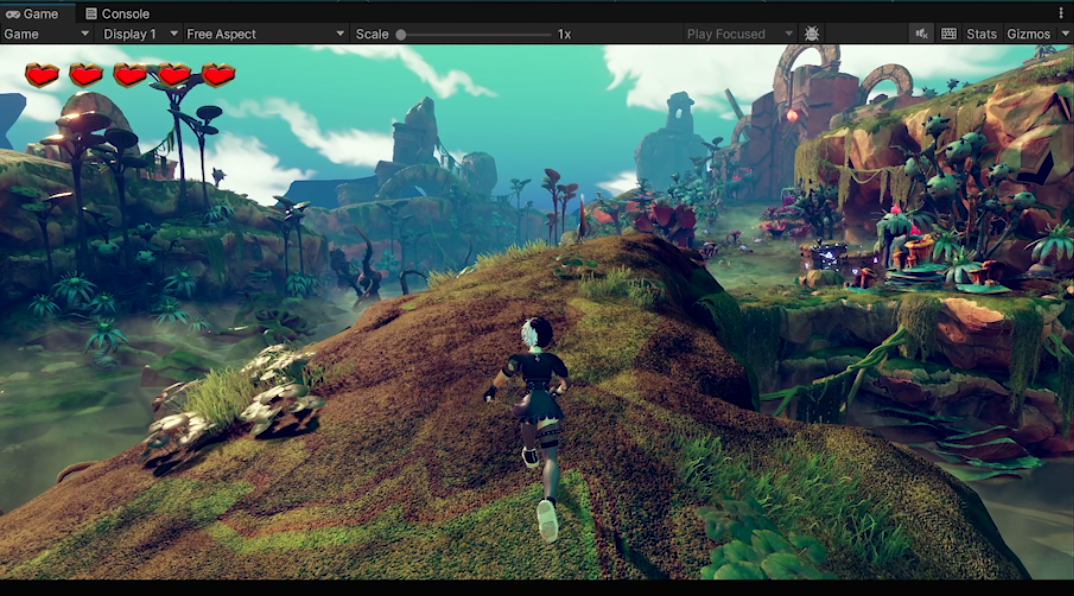
- Once your game is uploaded to the Player Zero platform, players can select it from the catalog and jump in with their personalized avatars.
Wrap-Up
By integrating the Player Zero SDK, you allow players to carry their avatars and digital identities into your world. With support for custom rigs, animation syncing, platform analytics, and monetization, the SDK equips you with the tools needed to build connected, personalized, and rewarding player experiences.
Want to learn more?
- Explore the Player Zero documentation
- Contact the team for support with blueprints or publishing
- Join our developer forums to connect with the community